Propagating Balcony Strawberry Runners in Small Pots for Free Plants
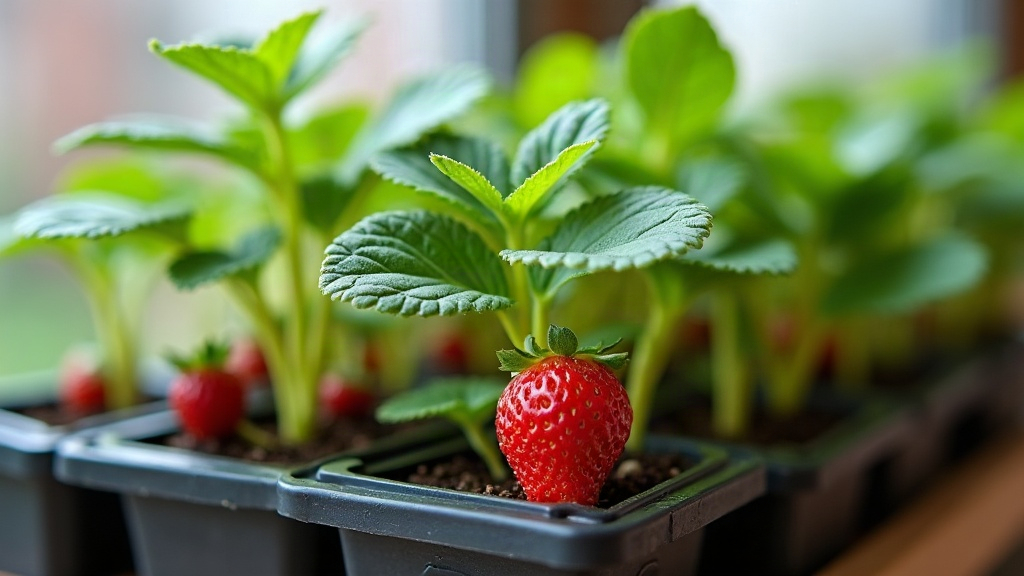
If you’ve already got one healthy strawberry plant thriving on your balcony, don’t bother buying more. Propagating runners in small pots is one of the cheapest, easiest ways to multiply your harvest, and it costs nothing but a bit of patience. Strawberries send out long stems called “runners” (some people call them stolons), and at the tip of each one a baby plant forms. Grab a handful of small pots, some soil, and wait a few weeks. One plant can turn into five, sometimes ten, by the end of a single growing season.
What Are Strawberry Runners?
Runners are the horizontal stems strawberry plants throw out once the main fruiting push winds down, typically from late spring into summer. Along each stem, little plantlets appear at intervals, each one already carrying tiny root buds ready to grab onto soil. In a garden bed, these just root wherever they land. On a balcony, there’s no soil to land in, so you have to step in and guide the process yourself with small pots.
Why Propagate on a Balcony Specifically?
Space is usually tight for balcony growers. Instead of letting runners flop over the railing or tangle across the floor, you get to decide exactly where each new plant takes root. That keeps the whole setup tidy, stops things from getting overcrowded, and gives you control over which runners are worth keeping and which ones should just get snipped off.
Step-by-Step: Propagating Runners in Small Pots
1. Identify Healthy Runners
Pick runners only from your strongest, most productive mother plant. Skip anything that showed disease, weak growth, or thin fruiting last season, because runners carry the parent’s traits forward. A weak mother plant means a weak baby plant, plain and simple.
2. Prepare Small Pots
- Use 3-4 inch (7-10 cm) pots with drainage holes, no exceptions.
- Fill with a light, well-draining mix (potting soil cut with perlite works fine).
- Moisten the soil before you place the runner, not after.
3. Position the Runner
Don’t cut the runner from the mother plant yet. Set the small pot right underneath the first or second plantlet along the stem, then gently press the plantlet’s node (the spot with the tiny root buds) into the soil surface. A small stone, a garden staple, or a bent bit of wire works well to hold it in place against the soil.
4. Keep It Connected
Here’s the trick that actually matters: leave the runner attached to the mother plant. While the baby plant is busy growing its own roots, the parent keeps feeding it nutrients through the connection. Cut it loose too early and you’ll lose a lot more plants than you’d like.
5. Water and Wait
Keep the soil in that small pot consistently moist, not soggy, for about 2-3 weeks. You’ll know rooting worked when:
- New leaves start standing upright from the plantlet
- The plantlet resists a gentle tug (try it, don’t yank)
- Roots start poking out through the drainage holes
6. Cut the Runner Free
Once it’s rooted, snip the connecting stem between mother and baby with clean scissors. That’s it, your new strawberry plant is now on its own.
Common Mistakes to Avoid
- Cutting too soon: give the roots time to actually establish before severing anything.
- Overcrowding pots: one plantlet per pot, always. Root development suffers otherwise.
- Ignoring drainage: strawberries hate wet feet, and root rot shows up fast in waterlogged soil.
- Skipping hardening off: if the new plant started indoors or in shade, ease it into full balcony sun over 5-7 days rather than all at once.
When to Propagate for Best Results
Late spring through midsummer is your window, since that’s when runner production peaks and long daylight hours speed up rooting. Live somewhere warm? You might get a second round of runners in early fall too.
Caring for New Plants After Separation
Once you’ve separated the new plant, move it into a slightly bigger pot (5-6 inches) with fresh potting mix. Water it deeply, then let the top inch of soil dry out before watering again. Feed every 2-3 weeks with a balanced liquid fertilizer. Most propagated plants spend their first year just building roots and foliage, and the real fruiting show up the season after.
Conclusion
Propagating balcony strawberry runners in small pots costs nothing and takes plants you already have. Keep the runner attached to the mother while it roots, use well-draining pots, give it 2-3 weeks of patience, and you’ll have healthy new strawberry plants season after season. No nursery trips, no extra spending, just a bit of waiting.