Growing Lovage in a Deep Container: A Perennial Balcony Herb
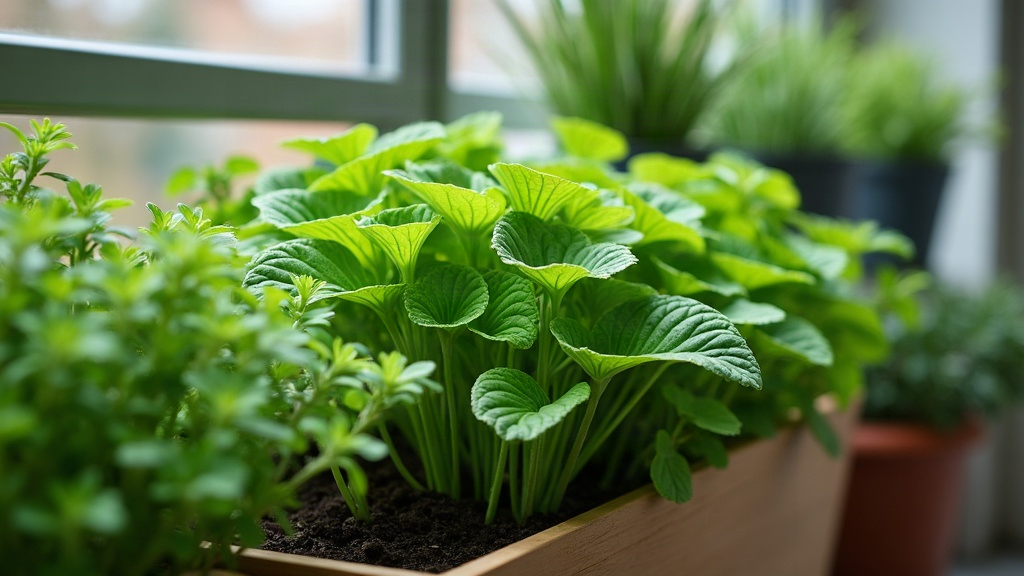
If you want a balcony herb that just keeps coming back, year after year, with almost zero maintenance, lovage earns a permanent spot in your container lineup. Grow it in a deep pot and this towering, celery-flavored perennial gets the root space it actually needs: enough to establish, survive winter outdoors, and come back bigger and bushier every spring. For a small-space herb garden, that’s about as good a long-term investment as it gets.
Why Lovage Is Perfect for Balcony Growing
Lovage (Levisticum officinale) doesn’t get nearly enough credit. It tastes like celery and parsley had a baby, with a faint whisper of anise in the background. Toss a handful of leaves into a pot of soup, a stock, a salad, or a stew, and you’ll notice the difference immediately. One plant is plenty for most households.
A few reasons it’s such a natural fit for balconies:
- Perennial lifecycle – plant it once, keep harvesting for years.
- Cold hardy – shrugs off winters as low as USDA zone 3-4 with only light protection.
- High yield per plant – one mature lovage can do the job of an entire garden bed of celery leaves.
- Low pest pressure – its sharp aroma keeps most common herb pests at a distance.
Here’s the catch, though: the root system. Lovage grows a thick, deep taproot (think small parsnip) along with a spreading crown of fleshy secondary roots. Cram that into a shallow pot and you’ll get stunted growth, weak regrowth each spring, and a slow decline over a couple of seasons. Container depth isn’t a minor detail here; it’s basically the deciding factor between a plant that thrives for five years and one that fizzles out after one.
Choosing the Right Container
If you want lovage to behave like the long-lived perennial it’s meant to be, not just limp through a single season, size beats style every time.
- Depth: 16-18 inches (40-45 cm) minimum; go for 20+ inches if you plan on keeping the plant three years or more.
- Width: At least 14-16 inches across. Mature lovage spreads outward as well as upward, eventually hitting 2-3 feet tall and nearly as wide.
- Material: Thick plastic, wood, or glazed ceramic hold onto heat better through winter than thin terracotta, which can crack outright when the soil inside freezes.
- Drainage: Several large holes, no exceptions. Lovage can handle a dry spell far better than it can handle soggy roots during winter dormancy.
Starting with a small seedling? Pot up in stages instead of jumping straight to the final container. A 10-inch nursery pot for the first few months works fine, then move it into its permanent deep home before the roots get pot-bound.
Soil and Planting
Rich soil with good drainage and steady moisture during the growing season is what lovage wants.
Mix recipe:
- 50% quality potting soil
- 25% compost or well-rotted manure
- 25% perlite or coarse sand for drainage
One seedling (or one divided crown) per container, full stop. Given how large this plant gets, there’s no squeezing in a second one. When planting, keep the crown sitting right at soil level, not buried under it; burying it invites rot before the plant even gets going.
Sun, Water, and Feeding
- Light: 4-6 hours of sun a day. Afternoon shade is fine, even welcome in hotter climates, since lovage tends to bolt and turn bitter once temperatures spike.
- Water: Keep the soil consistently moist through spring and summer. A deep container dries out more slowly than a shallow one, but check it weekly once peak summer heat arrives.
- Feeding: Top-dress with compost each spring as new shoots appear. A balanced liquid feed every 4-6 weeks during the growing season keeps leaf production strong.
Harvesting Without Weakening the Plant
Snip outer stems and leaves whenever you need them, but always leave the central growth point untouched. A good rule: never take more than a third of the plant in one go. If flower stalks show up in summer, cut them off unless you’re planning to collect seed. Removing them pushes the plant’s energy back into producing leaves instead of flowers.
Overwintering Lovage in a Pot
This is where all that extra container depth finally pays dividends:
- Let it die back naturally in late autumn. When the foliage turns yellow and collapses, that’s not a crisis, that’s just dormancy doing its job.
- Cut the dead stems back to about an inch above the soil.
- Mulch the surface with straw or shredded leaves, 2-3 inches deep, to insulate the crown.
- Shift the pot to a sheltered wall, or cluster it with other containers to buffer the root zone from temperature swings. A deep pot holds more soil mass, and that extra mass is what keeps roots from freezing solid the way they might in a shallow one.
- Cut back on watering significantly, but don’t let the root ball go bone dry.
Come early spring, pull the mulch back once new shoots push through, and get back to your normal watering and feeding routine.
Common Problems and Fixes
- Yellowing leaves in summer: Usually heat stress. Shift the pot to partial shade or water more often.
- Leggy, weak stems: Not enough light. Find a sunnier spot and the problem usually resolves within a few weeks.
- Poor regrowth after winter: Nine times out of ten this means the container was too shallow, or drainage was poor and the roots sat in water and rotted.
- Aphids on new growth: Spray them off with water or hit them with insecticidal soap. Infestations are uncommon but do pop up occasionally on tender spring shoots.
Conclusion
Plant lovage in a deep container once, and you’ve essentially set up a perennial herb supply that only gets better with age. Get the container depth right (18 inches or more), use rich, well-draining soil, and mulch it through winter, and you’ve given this tough plant exactly what it needs to build a real root system, even on a tiny balcony. After that first establishment year, lovage asks for very little and gives back a lot: it’s one of the best returns you’ll find anywhere in container herb gardening.